Clion with wsl2
I will follow the official docs
If you have not installed WSL2, please go to this blog
After installing WSL2 and CLion, open windows PowerShell as administrator and run
1 | Enable-WindowsOptionalFeature -Online -FeatureName Microsoft-Windows-Subsystem-Linux |
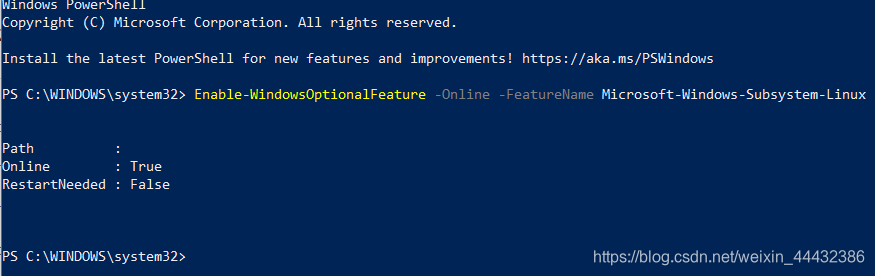
Then restart your computer
open ubuntu and run this command to install c++ tools
1 | sudo apt-get install cmake gcc clang gdb build-essential |
You will wait a long time.(here I use powershell, I suggest you use ubuntu tu run this command)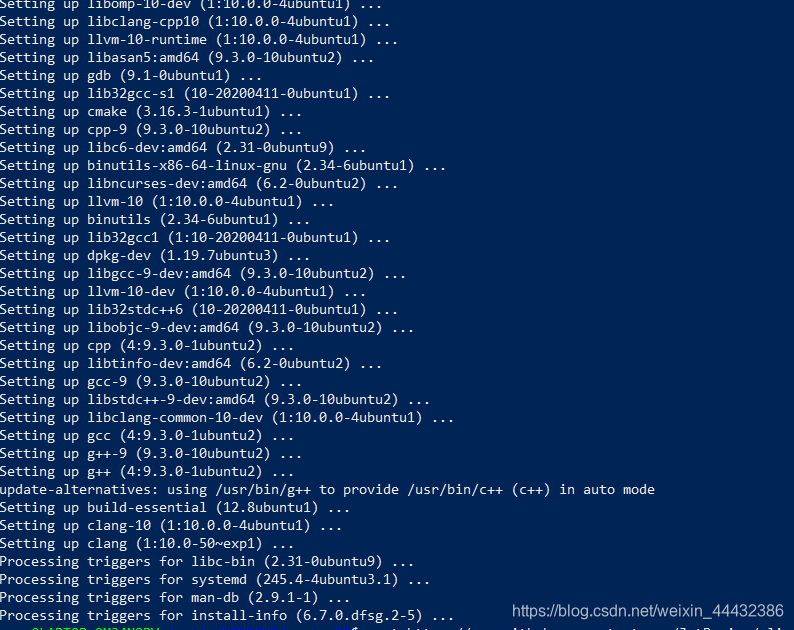
Then run this command to open the script
1 | wget https://raw.githubusercontent.com/JetBrains/clion-wsl/master/ubuntu_setup_env.sh && bash ubuntu_setup_env.sh |
If you are in China, you may can’t download the script by this command
But don’t worry, this is the content of the script
1 | #!/bin/bash |
copy this content, and follow me
go to the linux file system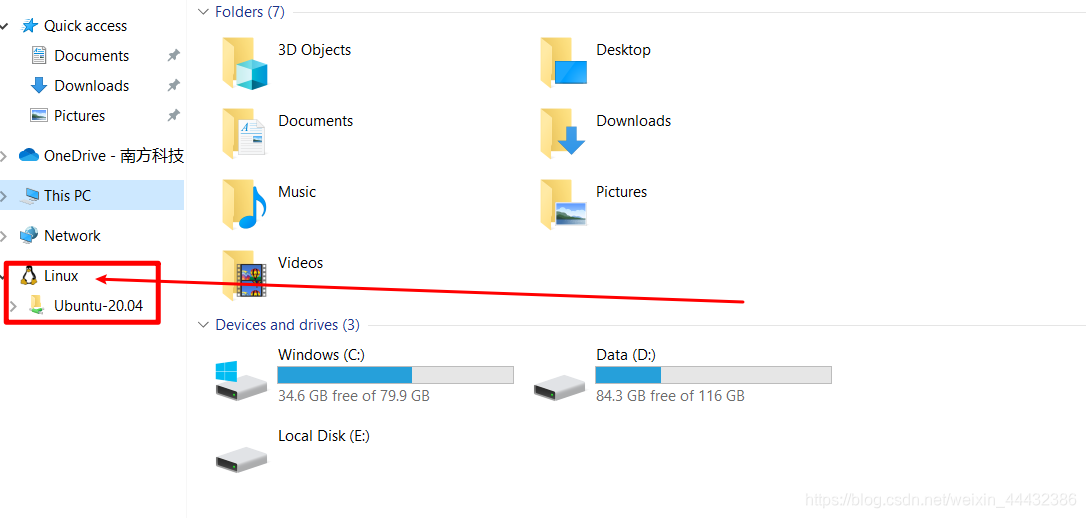
go to this path and create a txt named ubuntu_setup_env.sh, paste the content to this file.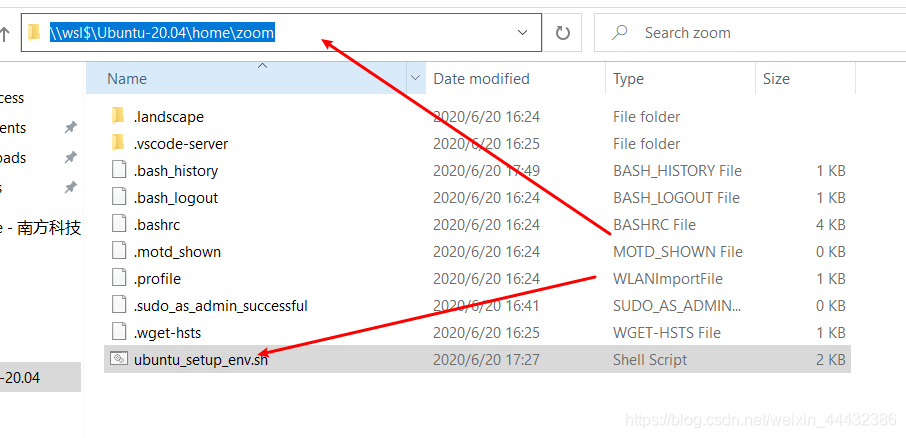
then run this command.
Notice: you should get into the path where you save your bash ubuntu_setup_env.sh file.
1 | bash ubuntu_setup_env.sh |
It will help us config the ssh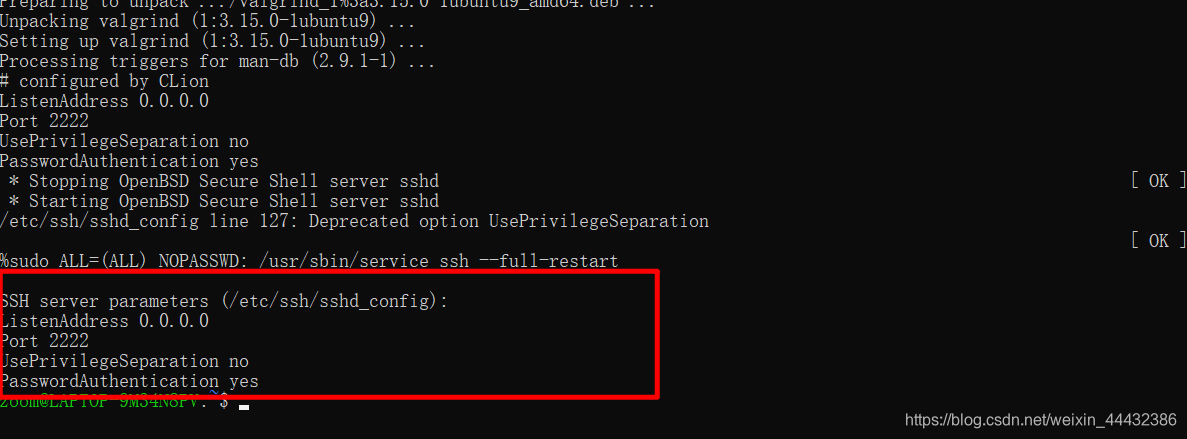
Then run this command, notice the username should be your username
1 | ssh username@localhost -p2222 |
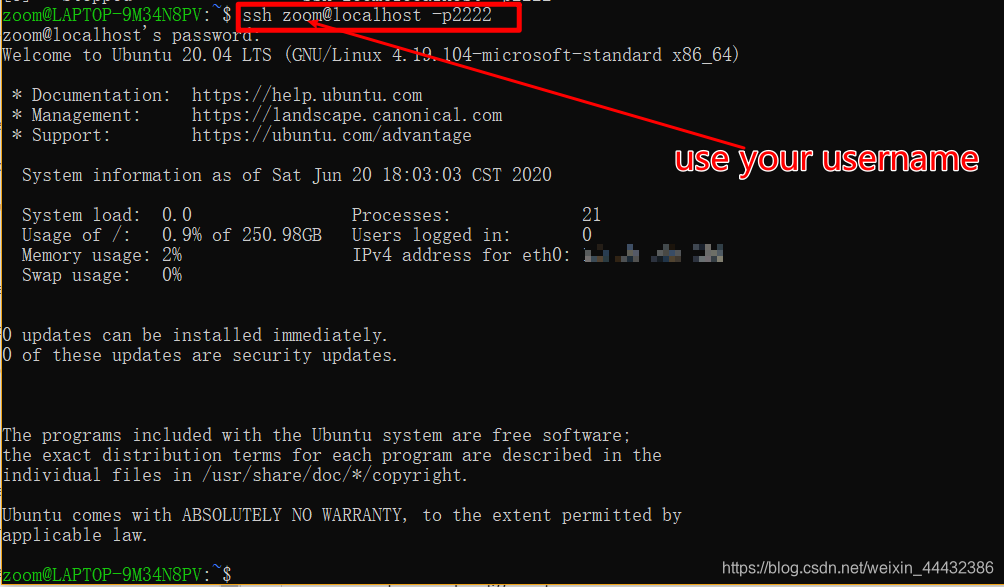
!NOTICE: before you connect to the WSL, you must turn off your fast startup function, or the localhostForward will not work!
Now open your Clion and go to Settings / Preferences | Build, Execution, Deployment | Toolchains and click plus icon to create a new toolchain. Select WSL from the Environment list.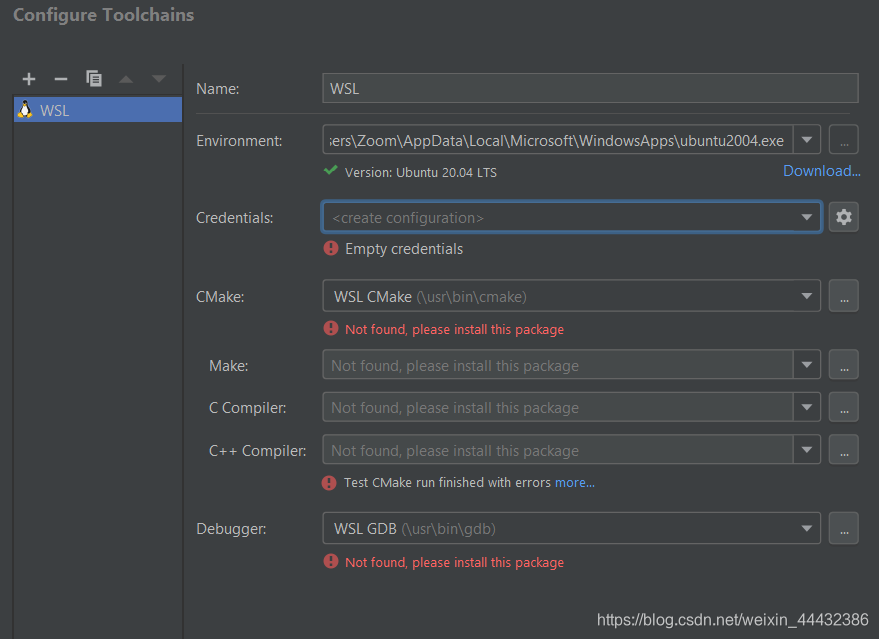
Then click Credentials setting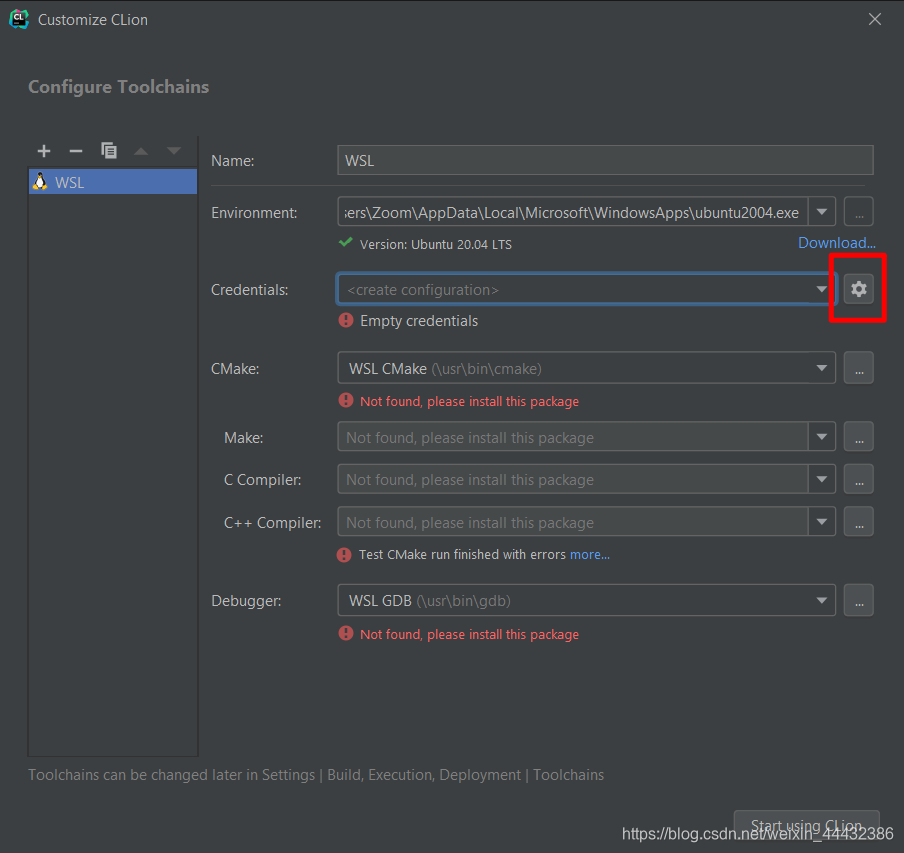
Fill your information of your WSL, then test connection and OK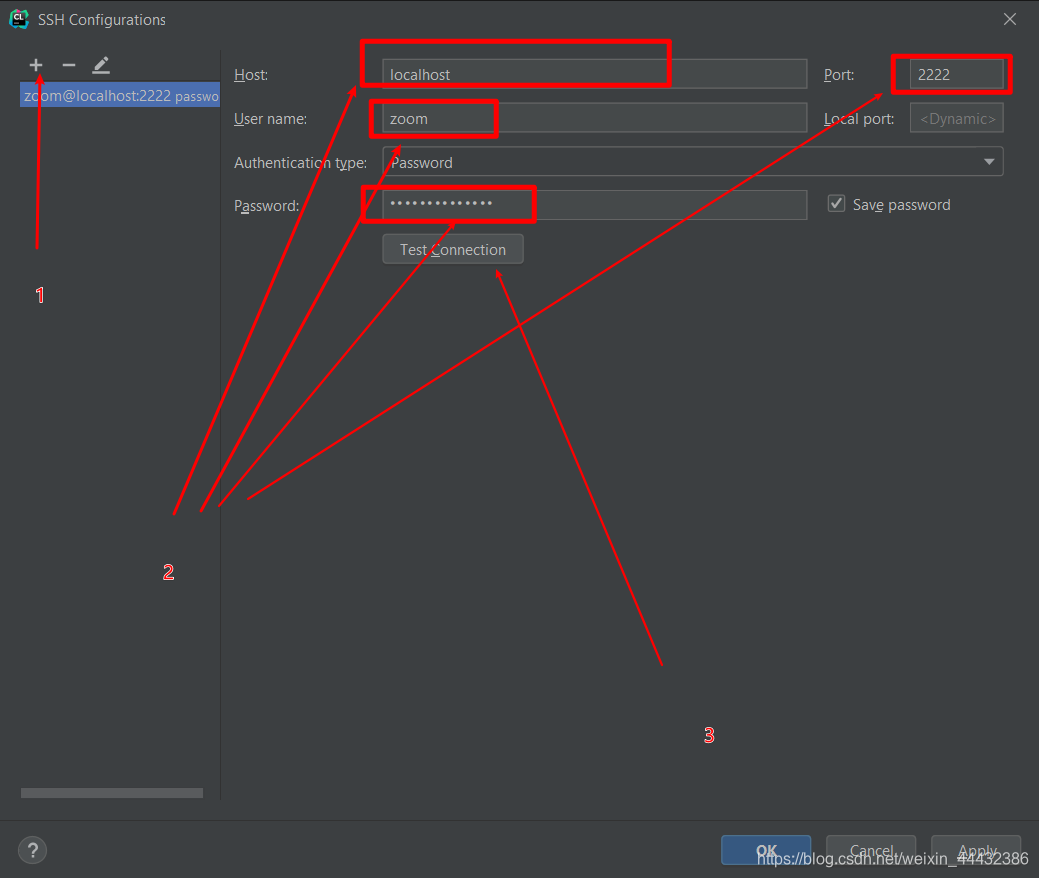
If you meet a error, that mean you need to config a file, let me tell you how to solve it.
go to your path like me
create a file named .wslconfig and its content is
1 | [wsl2] |
save it and restart your WSL2 on powershell
1 | wsl --shutdown |
then open WSL2 again
Finally, open Clion you will find it work successfully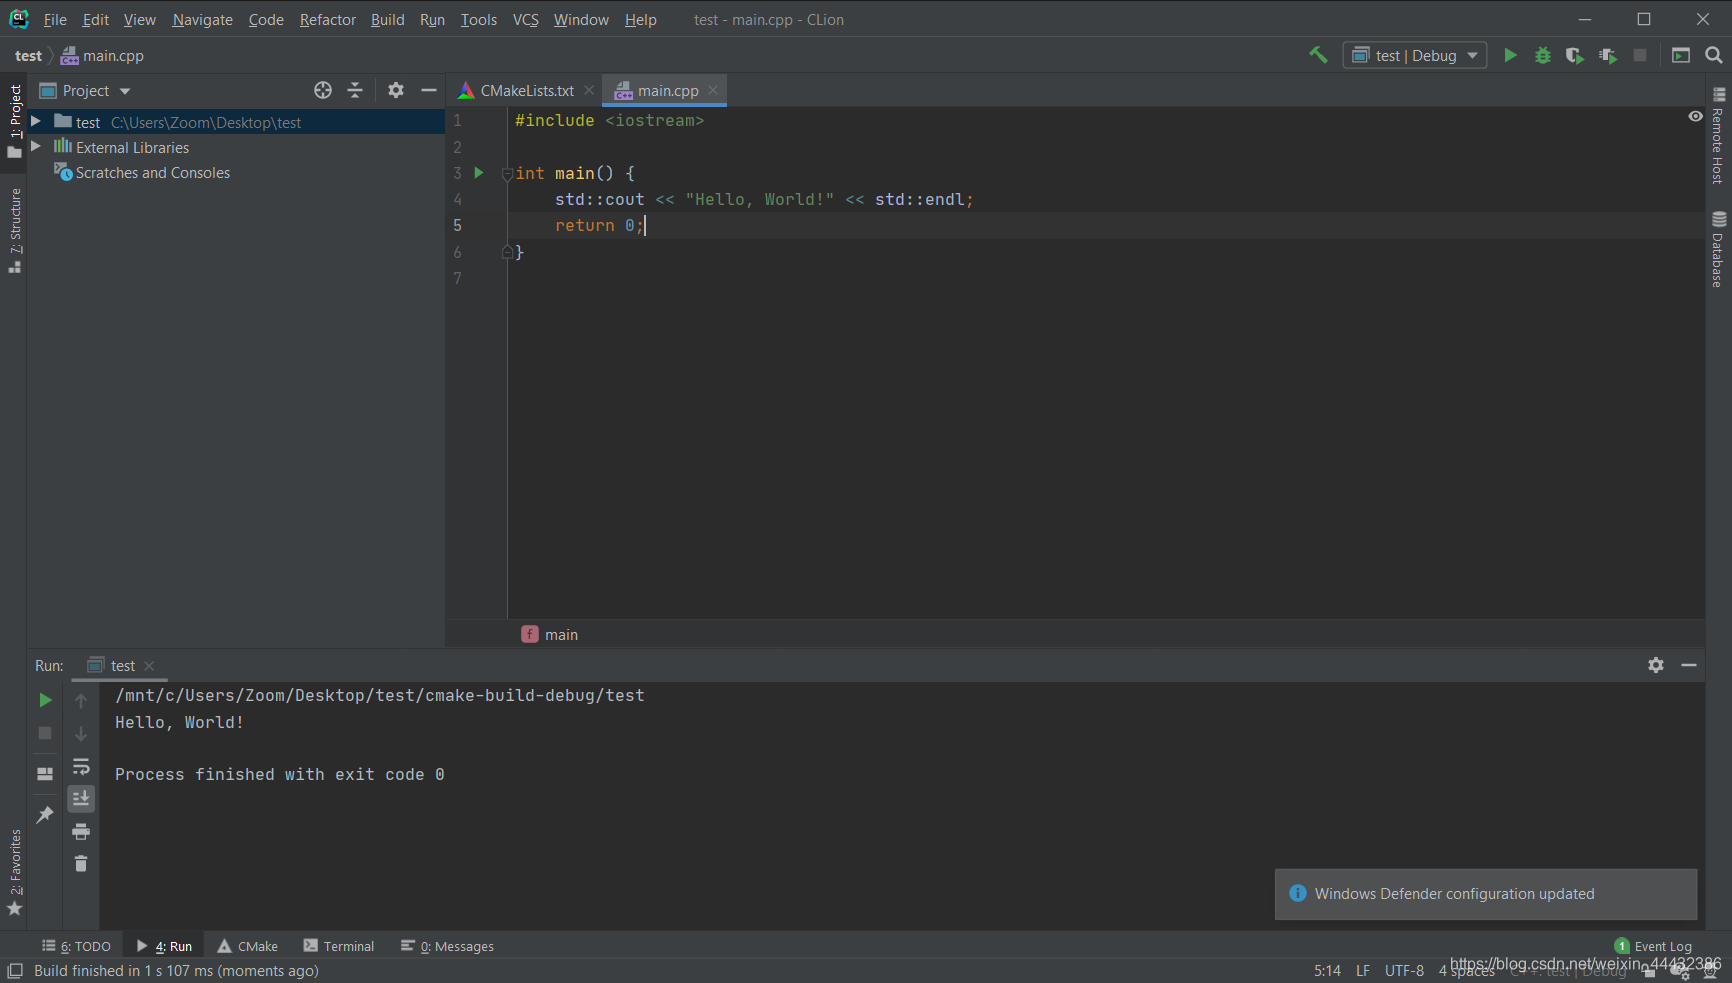
Have a good time!